For ease of explanation, I have included some Amazon links in this post. The owner of this website is a participant in the Amazon Services LLC Associates Program, an affiliate advertising program designed to provide a means for sites to earn advertising fees by advertising and linking to Amazon properties. AKA, if you click on one of the Amazon links and buy that item, I earn a few cents. It’s never happened before. it’s mostly a convenient way for me to share links on my page.
Bear with me, I know that making your own almond milk sounds a little “ain’t nobody got time for that.” I promise that with the right tools, making your own almond milk is quick, easy and so delicious. Bonus is that there is no waste and you know every single thing in your milk.
First up is the tools.

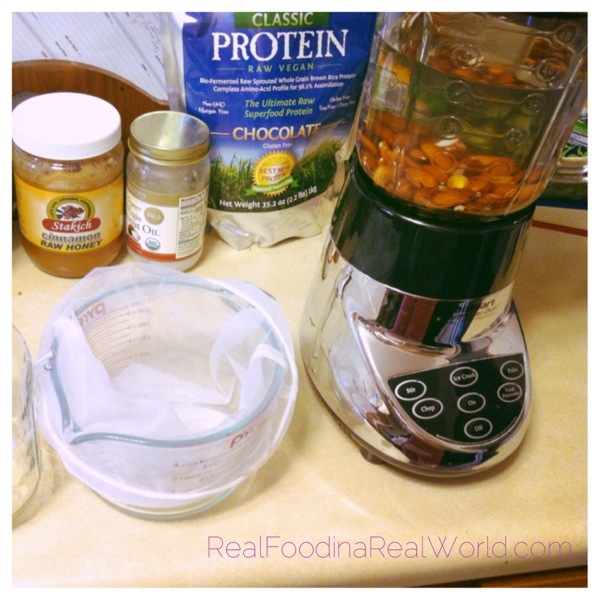
Don’t mind my messy counters, all photos get taken in my tiny Real kitchen where I Really raise a family.
You need a blender and a nut milk bag. (Yes, I giggle every time I say nut milk bag because I am a 13 year old boy trapped inside a 32 year old woman.) While I am sure a fancy high speed blender makes this job super easy, I have used both my (now died of old age) magic bullet blender and now my Cuisinart. I purchased my bag at a local health food store, or it can be found on Amazon. You could substitute cheesecloth, but this bag is worth every bit of the $10 I paid for it because it is easy to use and clean.
Now, lets get nutty!
For this recipe I am using some whole, raw unpasteurized almonds that are imported from Italy. I picked them up at a local health food store. There is a lot of current controversy about “raw” almonds grown in the USA right now. All US grown almonds must be pasteurized using either steam or a chemical process, but they are all listed as raw. For me, I’m trying to stay away from added chemicals so I picked up these imported almonds. I have more research to do to find out what brands use which method, because I like to buy homegrown products. If anybody knows a good source for this information I would love to hear from you!
Soak your almonds
I add about 1 cup of raw almonds to a quart size canning jar and fill with water. I have no idea if this should sit at room temp or in the fridge, so I opt for the fridge (side note: I also store all my nuts in the fridge to help keep them fresh) The water soak will help plump up the almonds and get them ready to blend.
Spin cycle!
After an overnight soak, rinse and drain the almonds. Add the rinsed almonds to your blender with 3-4 cups of fresh water. Blend blend blend. How long will depend on your blender. I probably do about 2 minutes total. Once I can see that all the almond bits are tiny and my blender doesn’t sound like it is chopping anything anymore.
Milk time!
Now you will pour the contents of your blender through the nut milk bag. I use a 4 cup Pyrex measuring cup for this and it works perfectly. Drain all the liquid out of the bag by squeezing. I’ve never milked a cow but I imagine the process is somewhat similar. Make sure you squeeze all the liquid out, the creamiest milk is in those last few squeezes.
Drink up!
I pour the milk into a quart size canning jar for storage. There will be some settling as it sits in the fridge so be sure to shake it gently before pouring a glass.
What will you add?
I use my almond milk pretty exclusively for smoothies so I don’t add any sweeteners or flavors. Your imagination is your only limit for what you could add. Try different nuts, add some coconut, maybe some vanilla or dates.
What about the leftovers?
You will be left with some almond pulp in your bag. This is basically wet almond meal. You could use it in muffins or granola. There are tons of Paleo recipes on the internet that call for almond meal. You can dry it for a few hours in your oven on the lowest setting and store it in the freezer. I always err on the side of caution for food safety which is why even after drying I suggest the freezer.


